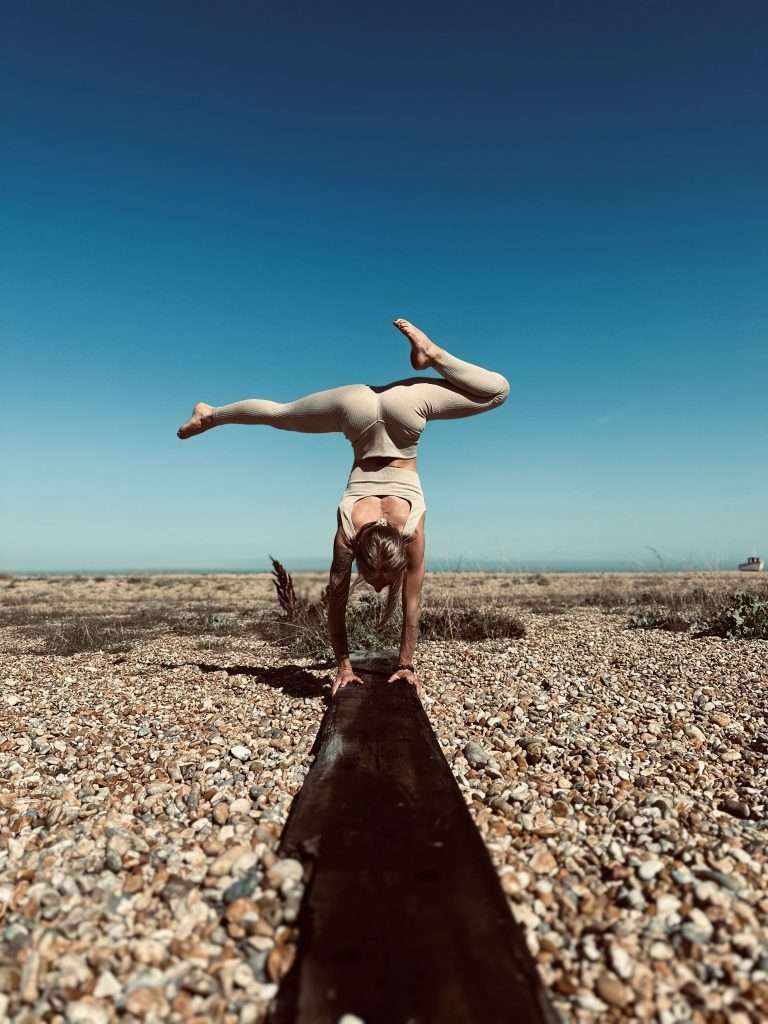
5 Poses in Yoga for Opening the Hips
Yoga is known to improve mobility and flexibility and so you can also work wonders when using yoga for opening hips, or other big muscles groups or joints. In this article, we will focus on five key poses in yoga for opening the hips that serve all levels of practitioners. If you struggle with tightness or pain in the hips, hip flexors, or lower back, these hip opening yoga poses are totally for you!
Also, when practicing yoga for opening the hips with these poses, you will prepare your body for poses, such as the full lotus seat. Full lotus requires flexibility in the hip joint and glutes, as well as the hip flexors and inner thighs. Please always remember to practice the hip opening yoga poses with awareness! If you feel any pain in the knees, soften the pose. Tightness in the hips can result in the knee joint taking over the pressure – and we really don’t want that!
What causes hip tightness to begin with?
Although tightness in the hips might have certain anatomical reasons, one of the main causes of tightness and pain in the hips, and lower back, nowadays is our overly sedentary lifestyle.
Remaining seated in a certain position for long periods of time causes these muscles to shorten, relax, and weaken over time. Our muscles are then no longer able to properly support our bodily structures.
Decreased blood flow to those areas can cause numbness, buildup of lactic acid or other products in the muscle and a general degeneration of the unused muscles.
What can we do to keep our hips mobile?
The most important thing we can do for our muscles is: use them! Moving, exercising, and working with our bodies puts our muscles to use, increases blood flow to eliminate unwanted substances from the muscles and body, and builds up strength. Hip opening yoga poses can help bring movement into stagnant muscles, lengthen them and supply them with better blood flow and more oxgygen.
I know that a lot of people – maybe you, too – are afraid to actually move and use our muscles, when we feel pain in certain areas. However, not doing so can gravely worsen the state of your muscles and aggravate the pain.
To avoid longer term consequences, the best thing to do is to get moving, circulate the blood flow, strengthen the muscles, and lubricate the joints. Yoga is a perfect way of doing so because it strengthens and stretches the body at the same time, creating a state of strong mobility for your muscles and joints.
Also, the risk of injury is relatively low if you move mindfully with your breath and your own body weight. So, let’s dive right in and look at our five key poses in yoga for opening our hips.
5 poses in yoga for opening the hips
I always strongly suggest starting your yoga practice with some sun salutations or easy, mobilizing poses, such as cat cow and downward dog walking on the spot, just to get the blood flowing and body moving, before you move into any deeper, longer held stretches.
Here are some of my favourite hip opening yoga poses explained and demonstrated for you.
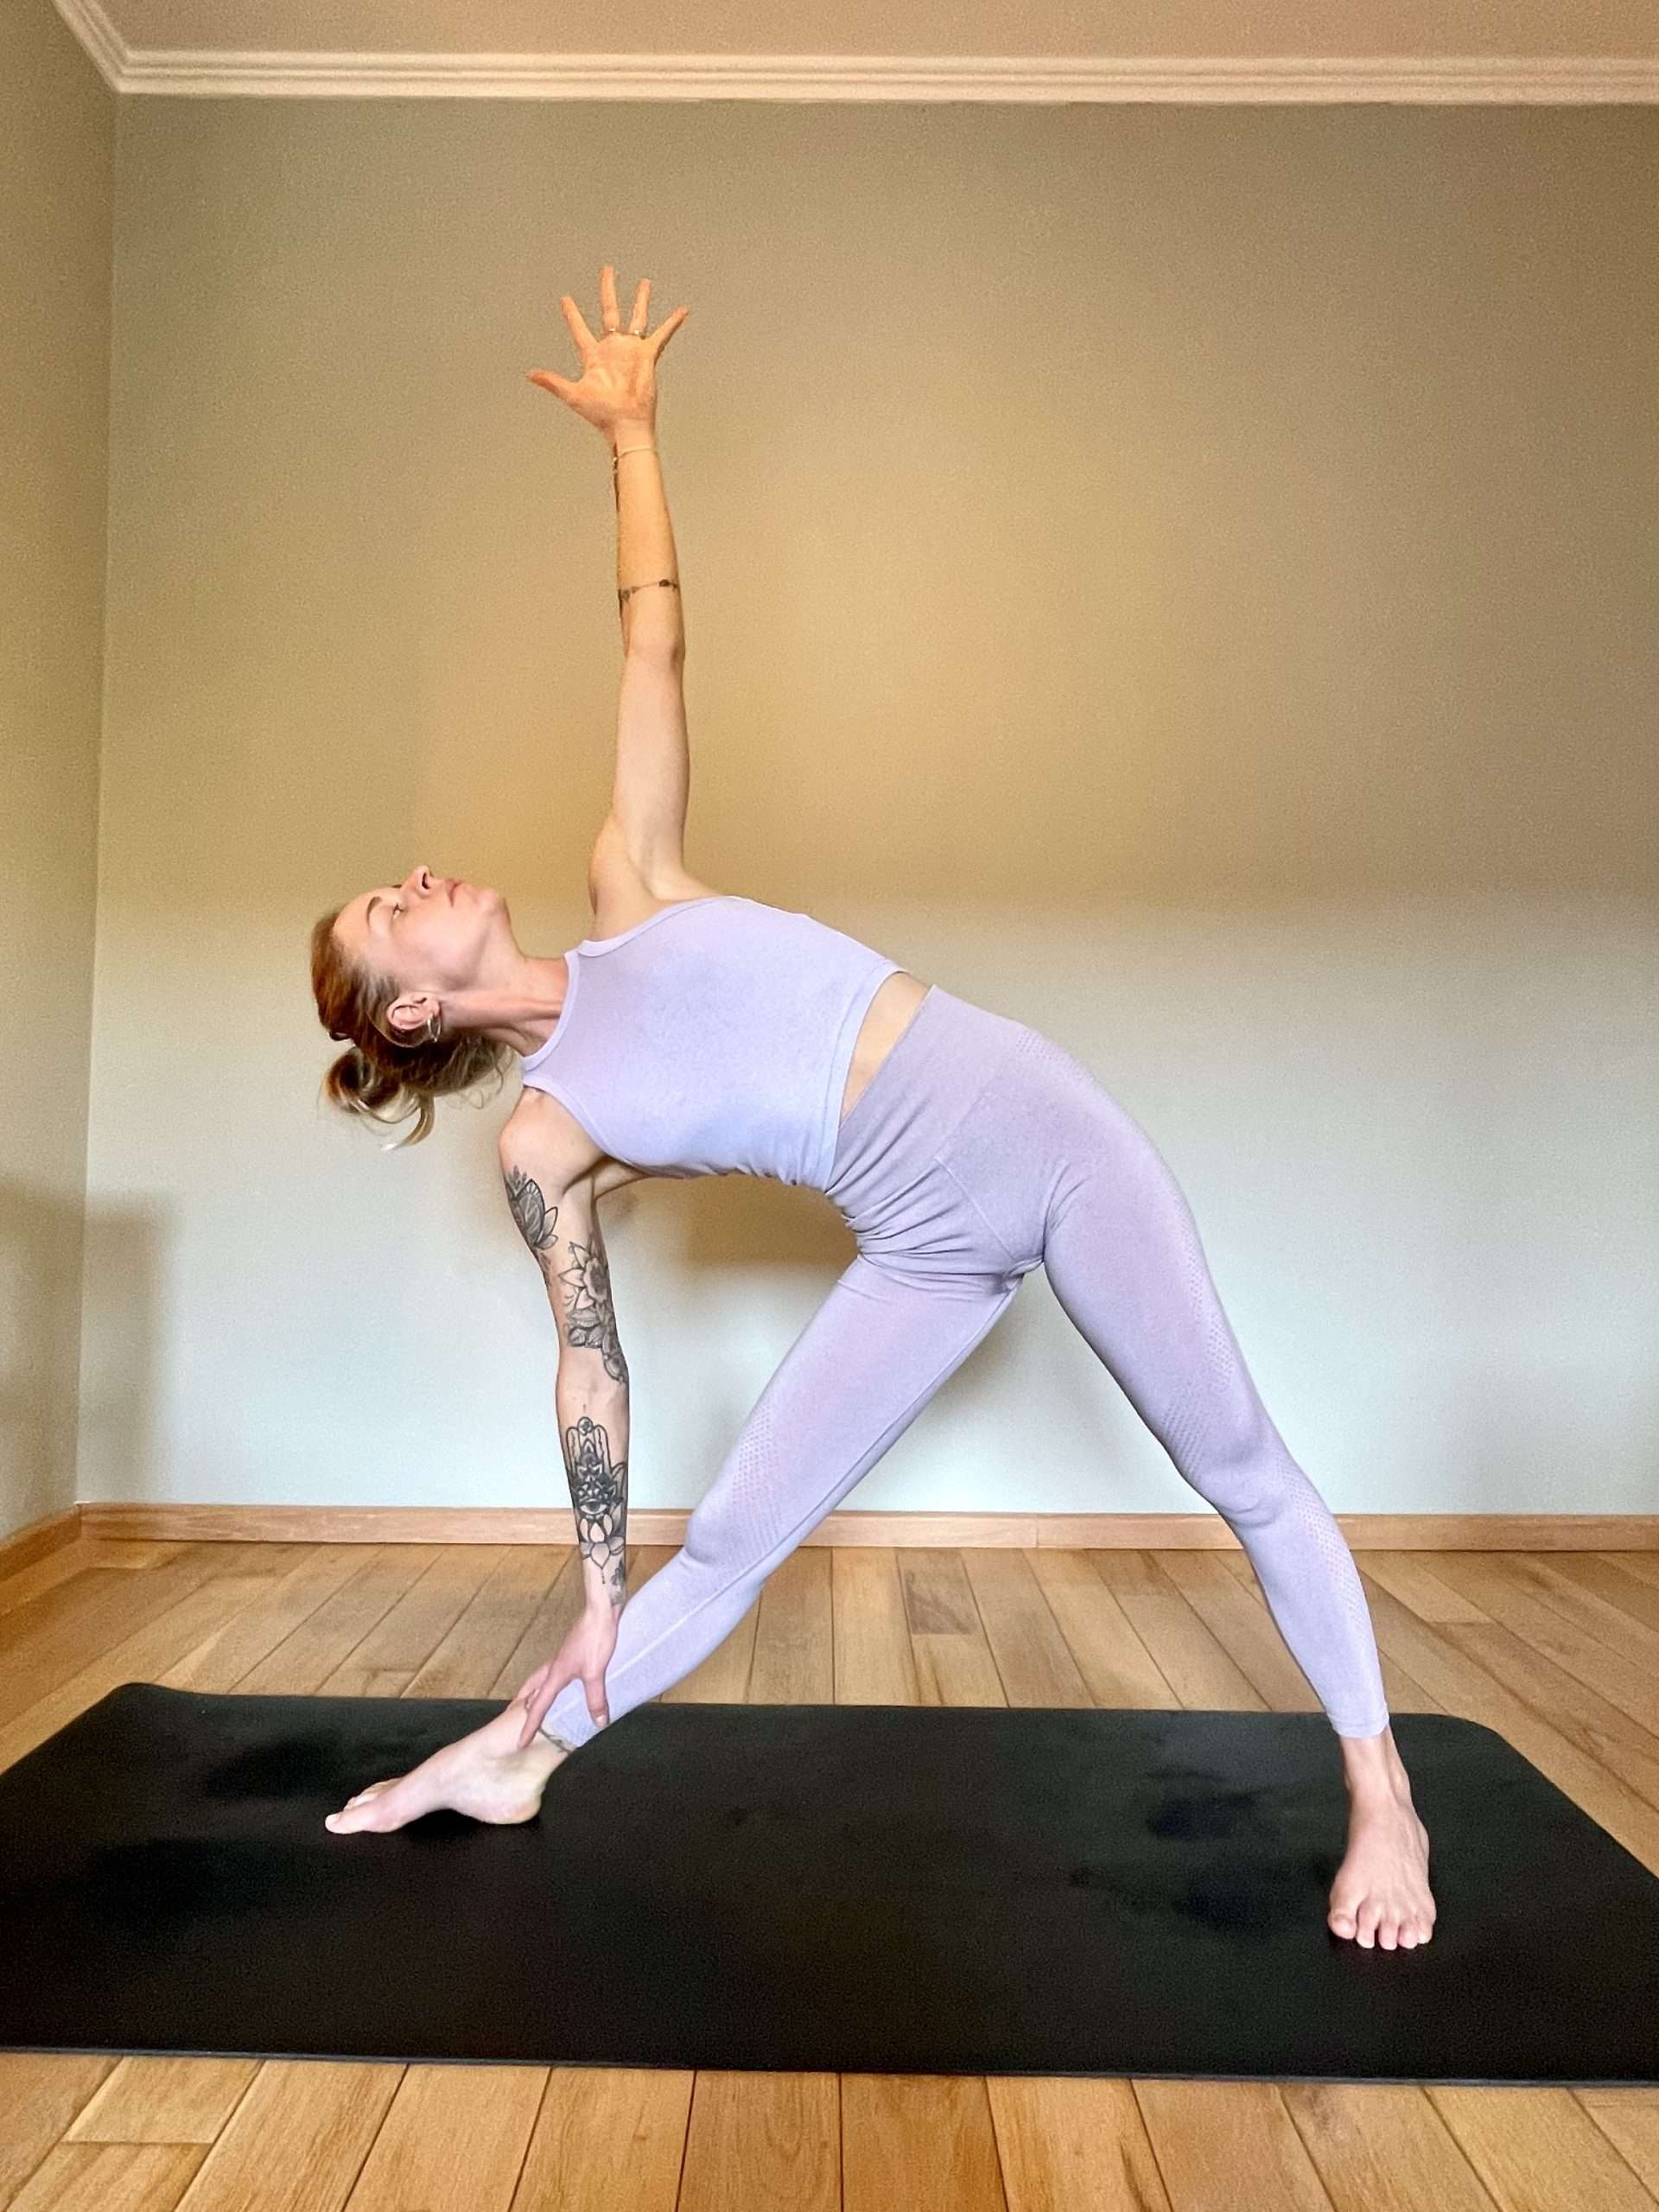
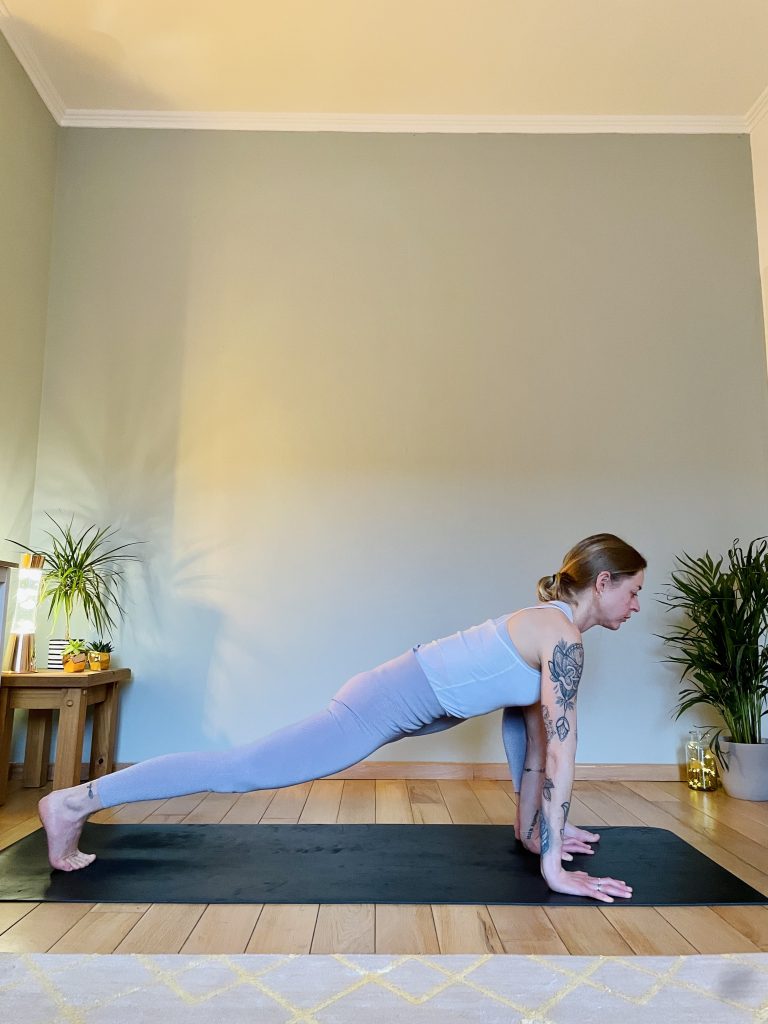
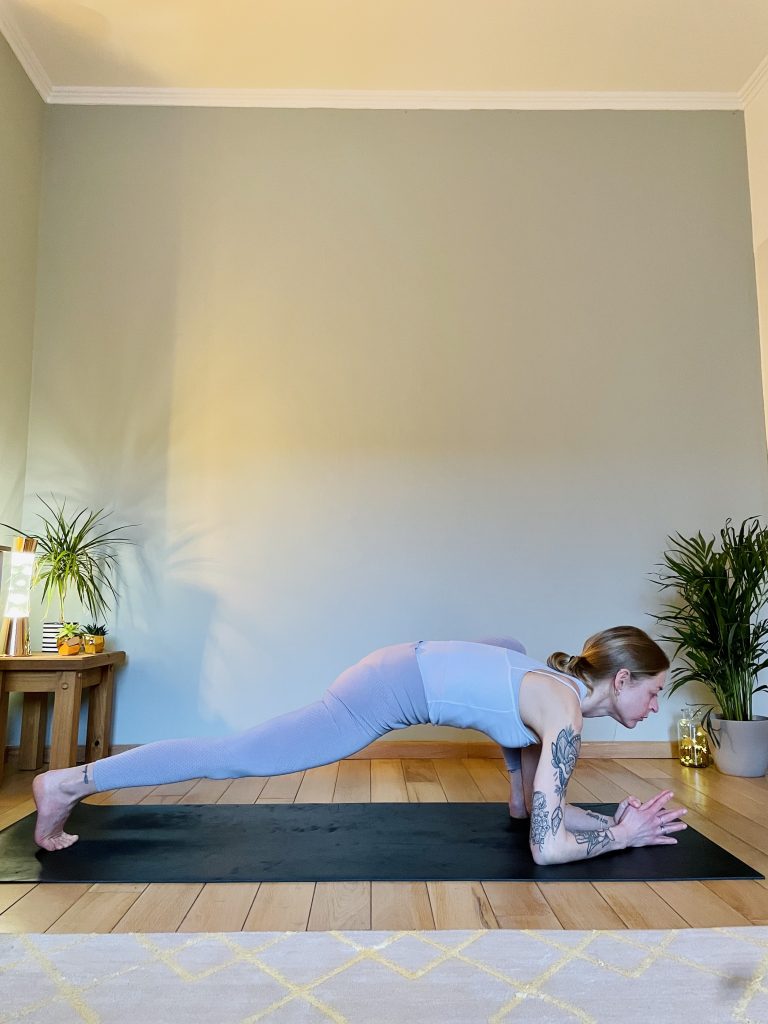
1. Lunge to lizard
Come into a lunge position with your hands framing the front foot. Make sure to keep your knee over your ankle, your spine long and your back leg active.
Piece of advice: placing your feet hip distance apart gives you better stability and more space in the lower back.
If you want to deepen the stretch, you can place your elbows on a block or onto the floor into the so-called lizard pose. Important here: avoid rounding the spine too much, keep the heart still moving forward.
These two hip opening yoga poses lengthen our hip flexors and inner thighs, which also releases tension in the glutes and lower back.
Take 5 breaths in your lunge and then 5 breaths in your lizard, if you are going there. Come back into a downdog and walk on the spot a little before switching sides.
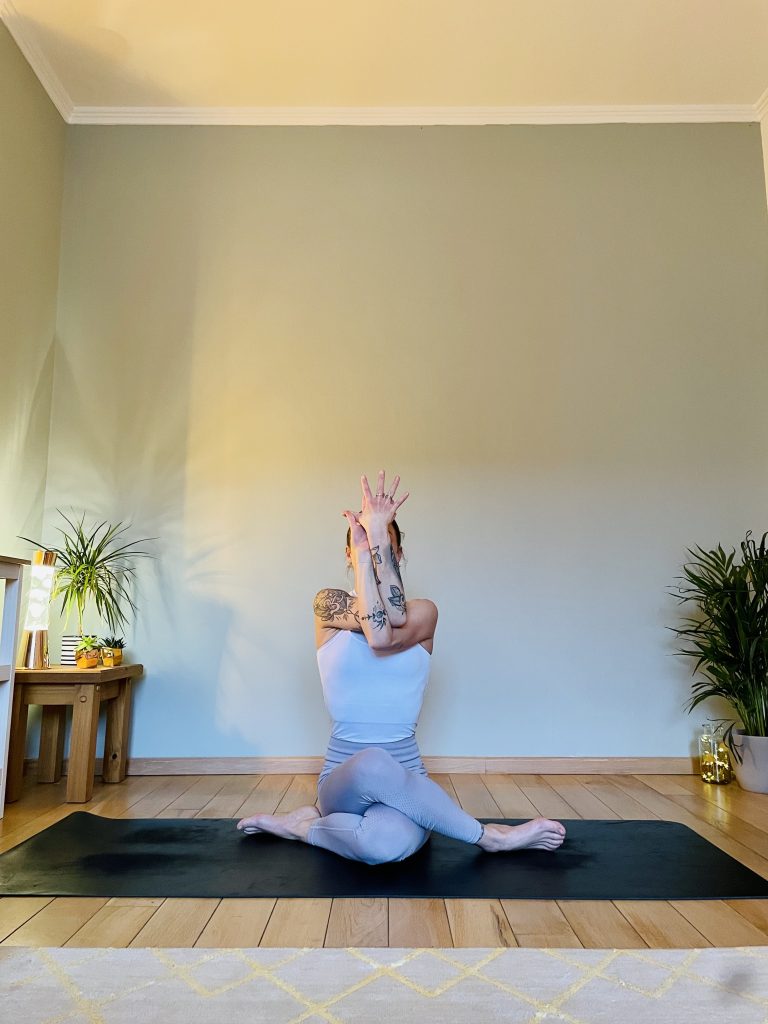
2. Frog pose
The frog pose can be practiced in different ways. I find that placing your knees at a 90° angle provides a deeper stretch in the hip flexors that also relaxes the lower back.
If you choose to practice this version, it is very important to keep your feet flexed to protect the knee joints. If you notice any discomfort or pain in your knees, try placing the big toes together, instead. Pay attention to your breath. If you notice your breath stopping, because you may be overstraining the body, take a step back and come into a variation of the pose, where you can breathe comfortably.
Little tip: feel free to place a blanket under your knees or double up your mat if your knees a little sensitive. Use your arms for support, so that your whole weight is not solely supported by the knees.
Keep your navel towards the spine and the pelvic floor lifted, to keep the bandhas engaged. Take 8 deep breaths, releasing some tension with every exhale.

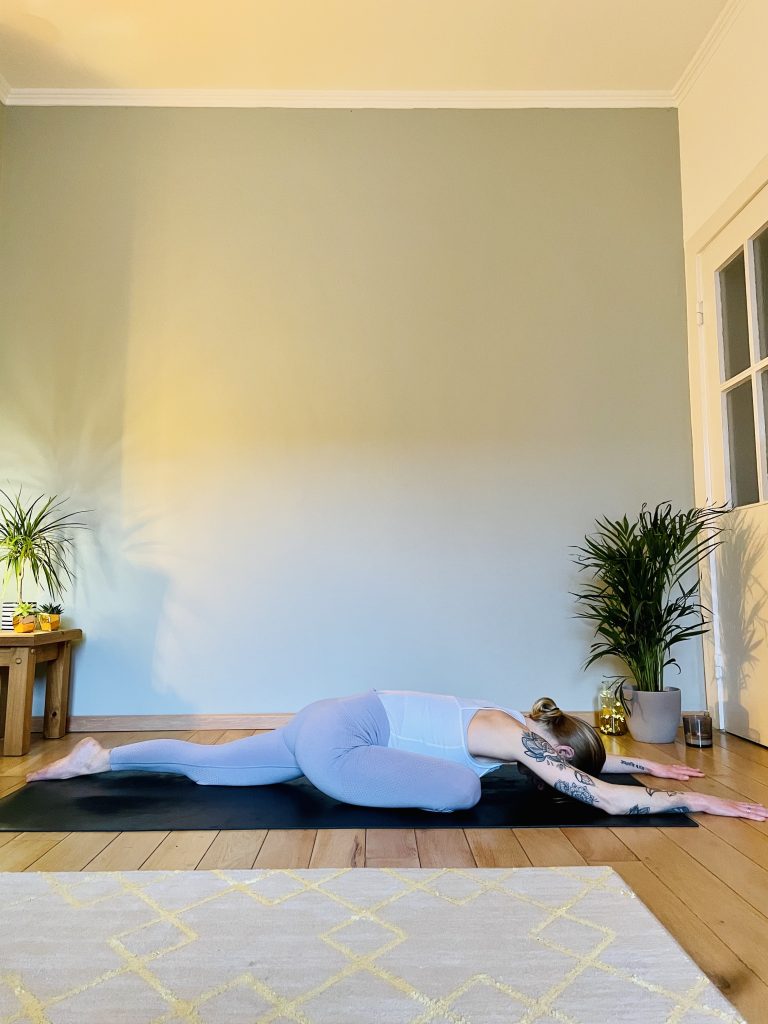
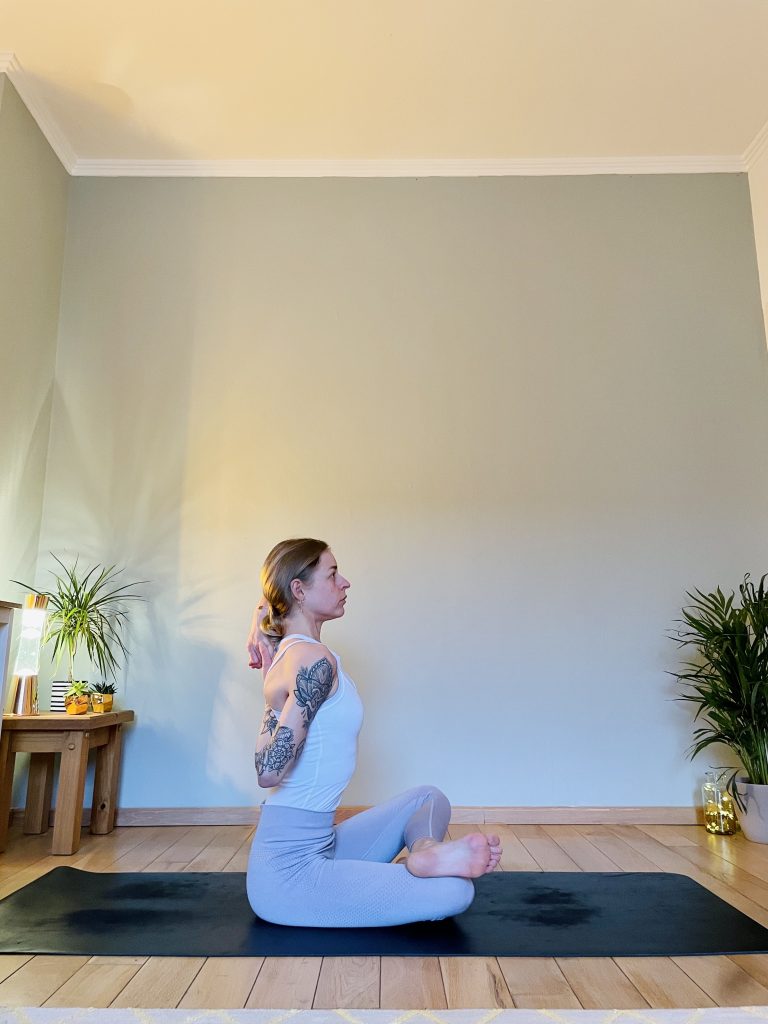
3. Gomukhasana
Oh, this one is a classic teaser in yoga for opening hips!
Come onto all fours and place one knee to the centre of the mat. Then bring the other knee behind, open the feet to the sides and come to sit in between your feet.
Tip: if your hips are extra tight on a given day, use a block (or even two) to sit on. This elevates the hips and decreases the stretch.
If you like, you can place your arms into the eagle arms position as demonstrated or keep them by your side. Whatever you do, keep breathing!
Take 5 deep breaths before slowly moving out of the pose. Come to a downward facing dog and walk on the spot before moving to the other side.

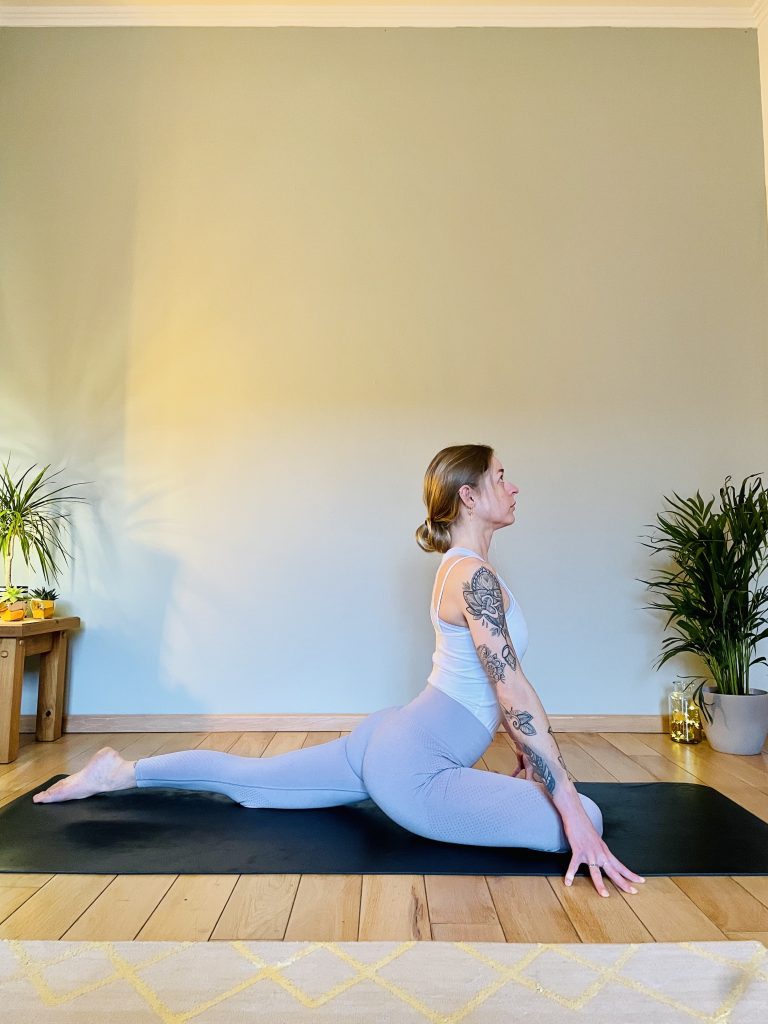
4. Pigeon
I think we have probably all seen and done this one: raja kapotasana, pigeon pose. Bring your right shin parallel to the top edge of your mat. Make sure your hips are level to the floor and you are not rolling onto your right side.
Pigeon can also be practiced with variations: the closer your front foot to your groin, the less intense the stretch. If you want to deepen the stretch, move your front foot further away from you. Because the knee joint is now open, make sure to keep your front toes flexed!
Important: if you feel any discomfort in your front knee, bring the foot closer to your body and support your weight with your hands.
Start with 5 breaths on each side. You can build this up to eight breaths. Between the sides find a little movement by coming into a downward dog or moving through a vinyasa.
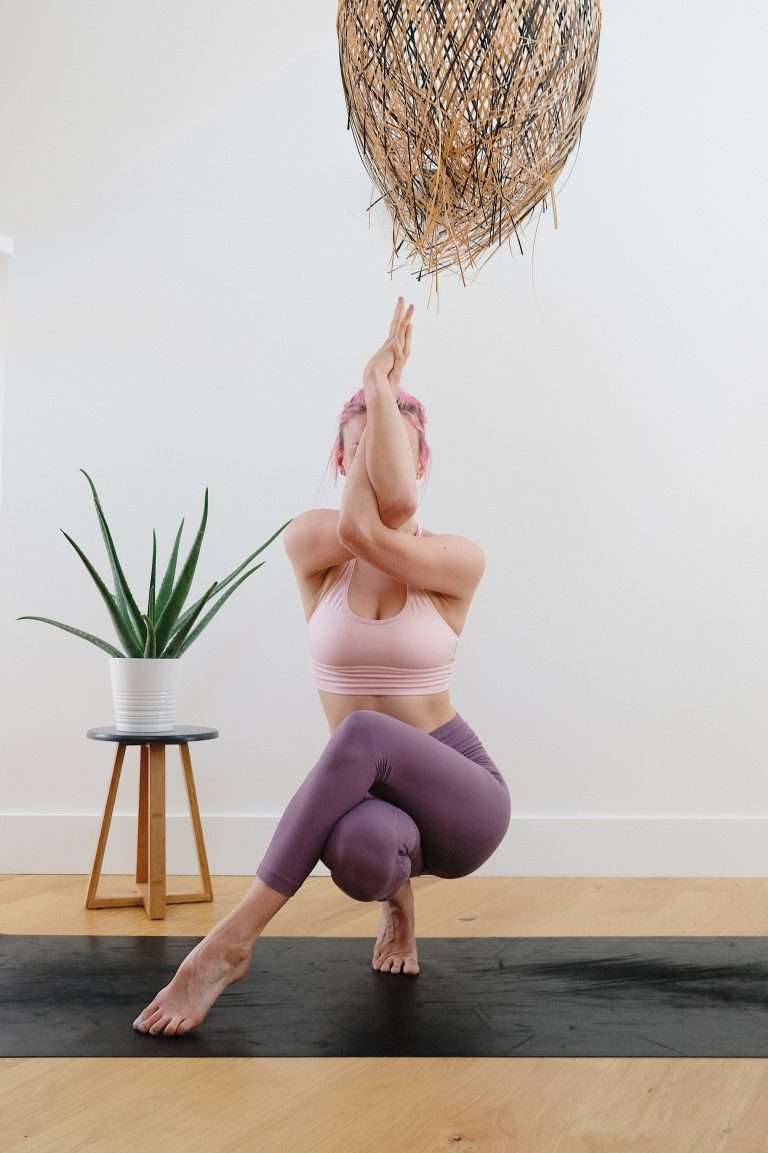
5. Firelog
Last and definitely, definitely not least, the one and only firelog – probably the most intense hip opening yoga pose out there. It’s not called firelog for no reason 😉
Start in an easy, cross-legged seat. Move one foot and shin forward, so the bottom leg is now parallel to the front edge of your mat. Carefully, place your other ankle over the bottom thigh.
Super important: both your legs are at an approximately 90° angle, which also means your knee joints are open. Flex your feet! It’s very important to keep the muscles active and protect the knees.
Pro tip: if your hips are particularly tight or feel discomfort or even pain in your knees, please practice an easy cross-legged seat instead. It is a wonderful preparation for firelog <3
Whichever variation you’re in, take 5 deep, full breaths before slowly releasing the pose. Stay seated, bring out the legs in front of you and carefully shake them out before changing the sides.
I very much hope that you will find good use in these five poses in yoga for opening the hips. You might feel a little tender in the hips tomorrow, so take it easy.
Also check out my post Easy 15-minute beginner yoga flow sequence for more yoga inspiration for your h(OM)e practice!
If there are any questions at all, just give me a quick shout at hello@findingsparkles.com. I’d love to hear from you!
You got this!
Keep sparkling ✨