5 Tips When Learning To Do A Handstand
Handstands can be challenging. Handstand can be scary. Handstands can be many things. But above all, we have an opportunity to remember that learning to do a handstand is fun!

As such, I invite you to practice handstand from a state of being playful and explorative. When learning to do a handstand, focus on the ‘Being’ qualities: light-hearted, centred, open, calm, and steady, so that we can practice handstands in a cheerful way, open our minds to the journey of going upside down and trust the time and the process, and therefore we have patience, lightness, awareness, freedom and as I said before: fun!
Handstands can teach us many things about ourselves and our practice. We learn about the foundations of the practice, which lie in the alignment, the breath, the Bandhas (energetic locks) and Drishti (eye gaze).
These tools are an essential ingredient to all of our practice and become especially important when beginning to move our bodies upside down. Learning about and incorporating these tools will shift, not only our inversion practice, but our practice as a whole, as they bring ease, grace and mindfulness.
Handstands, like any inversion practice, also bring many physical and psychological benefits. Reversing the blood flow when we turn upside down is extremely beneficial to the functioning of all bodily systems and can have rejuvenating effects on the body and the mind.
Learning to do a handstand can teach us about non-attachment to poses and their forms, about humility and detachment from the ego, as well as Svadhyaya (Self-study), as we begin to see the world from a different perspective. The aim is to incorporate these on-the-mat qualities from the practice, into our daily lives off-the mat.
TIP NR. 1: PRACTICE NON-ATTACHMENT WHEN LEARNING TO DO A HANDSTAND
It took me many years of practicing detachment, when learning to do a handstand. This was lesson number 1 for me: knowing, that tomorrow will be another opportunity to practice handstand, another step along the way. For years, I did a full 90-minute yoga practice and then went to the wall to do 10 minutes of “handstand training”. And that was, what it felt like: like a bootcamp, a must-do.
When I round The Rocket® sequences, handstands were naturally immersed into the sequence. It gives you an opportunity to practice with or without the wall, an opportunity to kick up 3 times and then move on – vinyasa. Try incorporating handstands into your next yoga flow. Breathe, give a little kick. See what happens and then let it go. Do the same on the other side. And again, the next day.
When learning to do a handstand, the right mindset is just as important as the correct theoretical execution. And, of course, practice, practice, practice. But keep it light and playful. It’s just yoga. Let it come. Let it go. Let it flow.
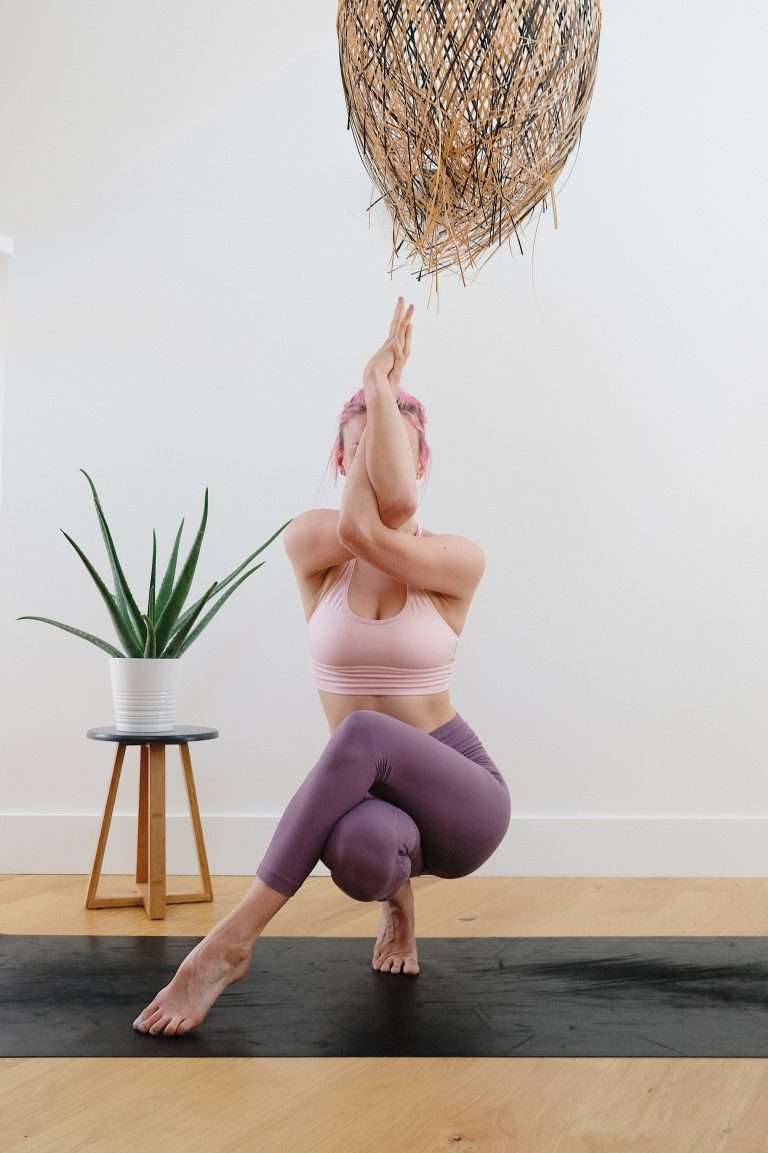
TIP NR. 2: BUILD YOUR HANDSTAND FROM THE FOUNDATION UP
One of the most important things to bear in mind when learning to do a handstand is your foundation. It is called a handstand – you will literally be standing on your hands. Therefore, your hands are your foundation.
- Spread your fingers wide – create a wide base
- Glue your fingers to the mat
- Make little spider fingers – this will allow you to balance better
From there, make sure you are properly aligned before going upside down: elbows over wrists, shoulders right above your elbows. Start staking your joints to create a strong and steady base.
Before kicking up, lift just one leg up and start moving more weight into your hands and fingers. Get your wrists used to carrying the weight, your fingers adjusted to balancing out any momentum and you mind acquainted to the idea of being upside down.

TIP NR. 3: BREATH. IS. KEY. WHEN LEARNING TO DO A HANDSTAND
You’ve probably done yoga for a while now and have heard a lot about proper breathing, using the Ujjayi breath and connecting it to movement. But just in case you have not, now is the time to start.
Ujjayi breath is as important to your yoga practice and handstand journey as the pose itself. It serves an audio-meditative purpose to quieten the thinking mind. This is especially beneficial when learning to do a handstand and that little voice appears in your head, just as you get ready to kick up, saying: “I’m scared!”
Learn to breathe louder than any of the thoughts in your mind. Create a deep breath by constricting the throat muscles and producing an ocean-like sound to the breath. The more you focus on a deep, steady breath, the less chance you give your monkey mind. Let me take you through the breath-movement order:
- Exhale: place your hands, spread your fingers, and stack your shoulders.
- Inhale: move your shoulders slightly more forward and lift up one leg.
- Exhale: look between your fingers and pull the navel in towards the spine.
- Inhale: lift up!
- Now keep breathing, no matter what happens.
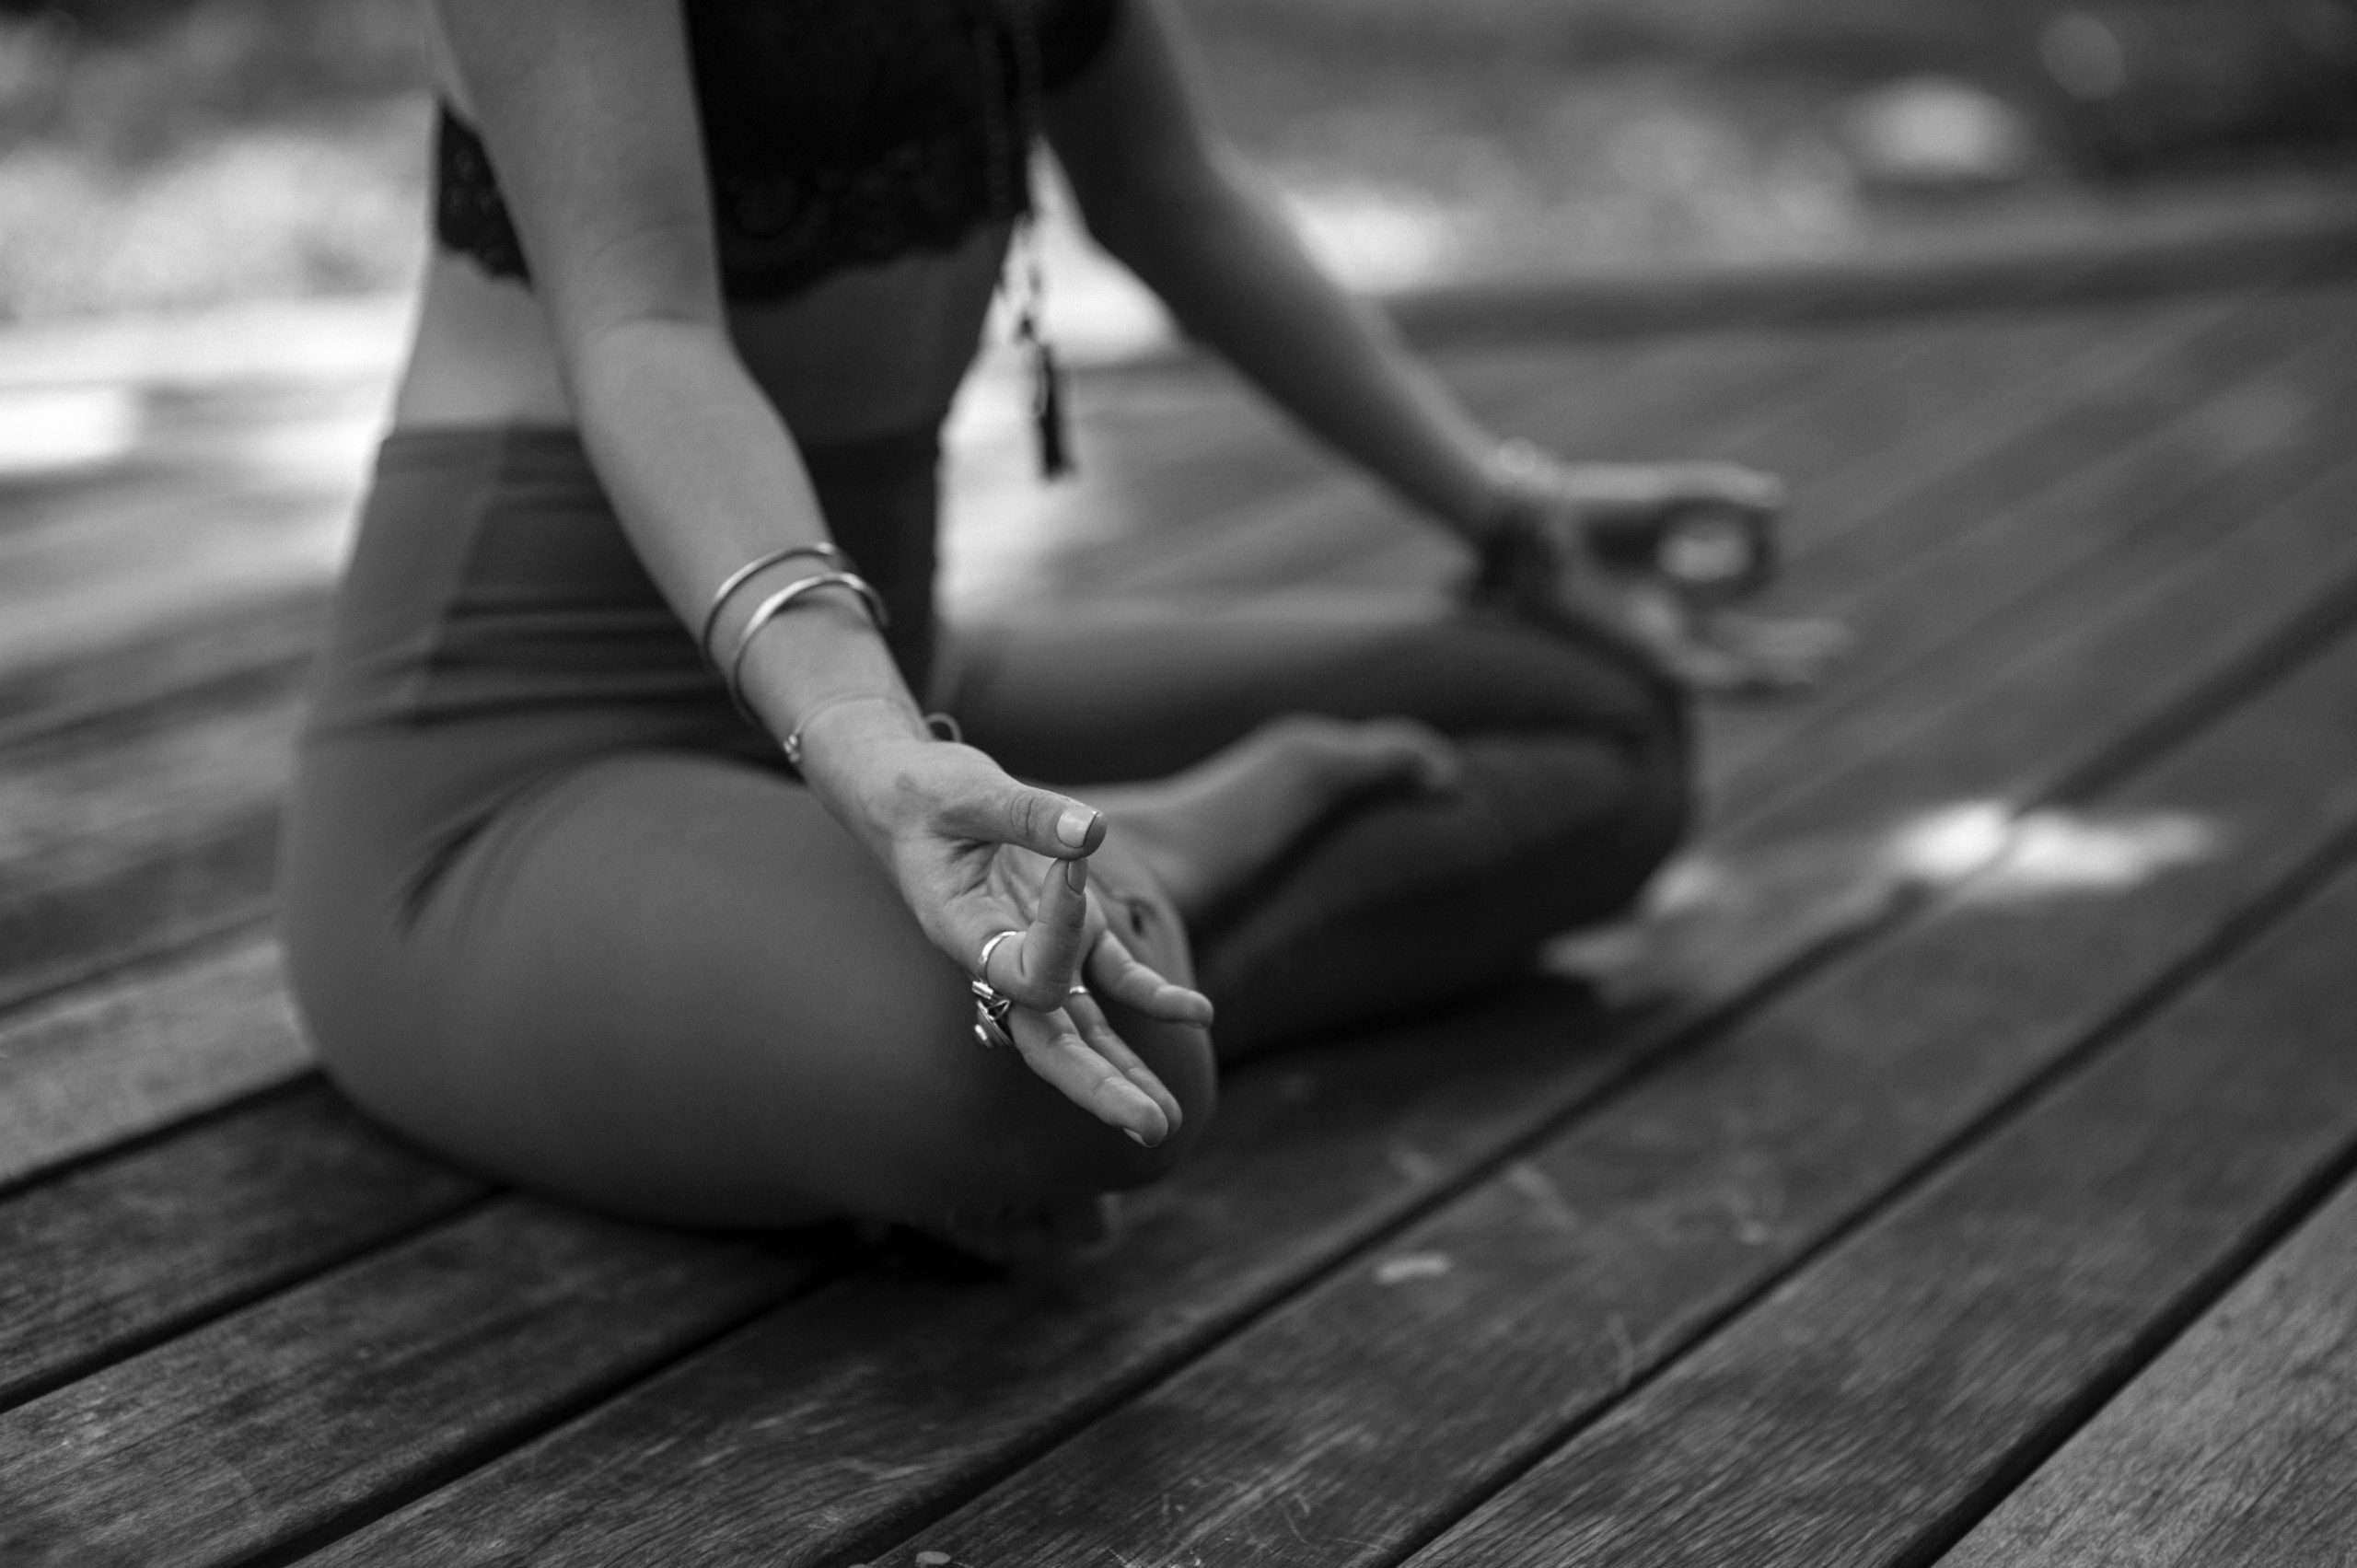
TIP NR. 4: ACTIVATE YOUR BANDHAS WHEN PRACTICING HANDSTAND
We have three important bandhas that we continuously use in our yoga practice. Bandhas are so called “energy locks” that help keep the high energy we create in the practice within the body. In order to comprehend the bandhas better, they are associated with specific muscles. In that way, the bandhas help us move through our practice with lightness and grace. They are located as follows:
- In the pelvic floor: Moola bandha
- Around the navel: Uddiyana bandha
- In the throat: Jalandhara bandha
All three bandhas are actively involved when learning to do a handstand. First, the pelvic floor needs to be engaged, in order to send energy through the legs and keep us upright. Of course, we need to activate our abdominal muscles to create core strength to lift us and keep us steady and the movement controlled. Finally, Jalandhara bandha in the throat directs our eye gaze.
To find out in more depth about the bandhas, how to properly locate them and to learn how to engage them, read more in my article about bandhas.

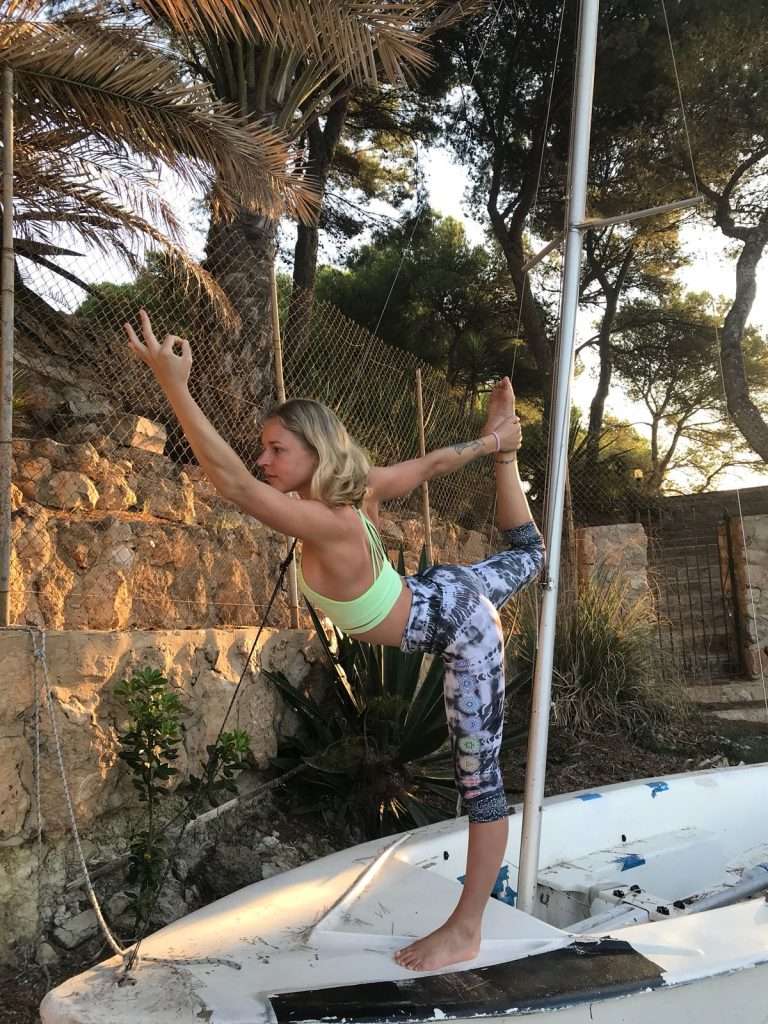
TIP NR. 5: YOUR EYE GAZE DIRECTS YOUR ENEGRY IN HANDSTAND
As briefly mentioned at the beginning of this article, there are three essential components to our yoga practice that also apply when practicing handstands: breath, Bandhas, and Drishti. We have already covered the first two, so let’s take a look at the last component.
What does Drishti mean? Drishti refers to your eye gaze in a specific movement or yoga pose. It is one of the three essential components of the traditional Ashtanga Vinyasa practice, and each pose actually has a specific Drishti assigned to it. For example, in Warrior Two, your Drishti is on the tip of your front middle finger. Our Drishti, or eye gaze, directs our focus in a given pose. And as we know: where focus goes, energy flows.
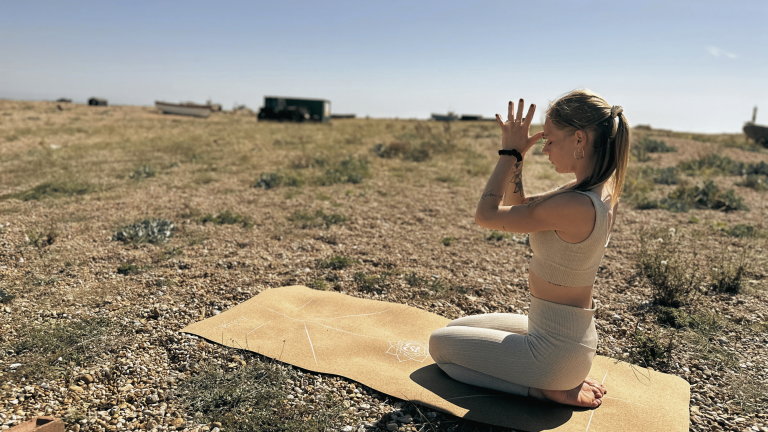
Place your drishti between your thumbs:
When learning to do a handstand, it is best to place your eye gaze in a triangle with your thumbs. That means, you should be looking more or less in between your index fingers. Your neck will therefore not be entirely straight. However, when starting out your handstand journey, it will be much easier to balance that way.
Once you are upside down, practice balancing there for a moment, while keeping the eye gaze steady. You will notice: as soon as you start shifting your eye gaze, your balance will be thrown off!
When your handstands become steadier, you stay upside down a little longer, and your form is straight and solid, you can experiment with shifting the eye gaze more back towards your thumbs until you eventually look towards the back end of your mat. This will take time. And I mean, it can take years. But how do they say: the journey is the destination! And it really is when learning to do a handstand.

With all that being said, I truly hope that you will step on your mat daily with your only intention being to breathe, fly, sparkle. We cannot fly if our minds weigh us down. Leave all those expectations to one side, when you step on the mat. Quieten your monkey mind by taking a deep breath. Align yourself: hands, elbows, shoulders. And fly!