Yoga for Lower Back Pain: 7 Yoga Poses to Help with Back Pain
Yoga for lower back pain is a cheap, healthy, and easy way to relieve pain in your lumbar area. If your lower back tends to be sore, tight, or painful, yoga can be very beneficial and there are several yoga poses that help with back pain. In this article, we will discuss seven yoga poses that mobilise, stretch, and strengthen the lower back to relief pain and prevent it in the future.
Reasons for Lower Back Pain
Various factors can cause lower back pain. Some of these factors may be injuries associated with herniated or bulging discs, osteoarthritis or osteoporosis, or sciatica. If you suffer from any of these conditions, it is recommended that you approach your doctor or physician.
However, there are also quite a few lifestyle factors that can lead to lower back pain, and which are much more manageable and reversable. Some back pain contributors may be:
- Sedentary lifestyle:
A sedentary lifestyle causes weakness in the muscles, especially in the core. As a result, more pressure is placed on the spine, blood flow is reduced, and muscles can become stiff and achy. The best cure for this is exercise to strengthen and stretch the body.
- Poor posture:
Poor posture is often a result of a sedentary lifestyle, leading to slouching or hunching forward, which puts strain on muscles and ligaments and contributes to pain in the back. Yoga is excellent for improving posture, strengthening muscles in the core, and moving the body in different directions.
- Excess weight:
Excess weight can be a contributor to lower back pain as it places pressure on the spine and may even cause the spine to curve unnaturally and lead to disc injuries. Usually, excess weight also means that the muscle mass is insufficient to stabilise and protect the spine. The best recommendation is to exercise and eat healthily.

- Stress and inflammation:
Stress can cause stiffness in the muscles, lead to people adopting bad posture, or result in inflammation in the body. All these factors then contribute to aches and pains – usually in the shoulder, neck, and back area. Soft exercise, such as yoga, healthy nutrition and adequate sleep can help reduce stress and related pains.
- Lack of sleep:
Inadequate sleep contributes to back pain in several ways, such as reduced flexibility, lower energy resulting in less movement, adopting poor posture, eating unhealthily or even injuries. The body also needs sufficient sleep to repair and heal itself. Make sure to get enough good quality sleep! The good news: Yoga can help with both. Also check out my article Sleep Well: 7 Tips on How to Get Better Quality Sleep.
- Poor nutrition:
If your diet lacks in vitamins and minerals, this can negatively affect your bone structure, and energy levels. Eating too many processed, fatty, or sugary foods can contribute to chronic inflammation, which can result in increased pain. Eating healthily is about the best thing you can do for yourself and your health.
Benefits of Yoga for Lower Back Pain
Yoga is a low-impact exercise that can be practiced by people of all ages and fitness levels. One of the main benefits of yoga is that it helps to improve flexibility and strength, which can help reduce the risk of lower back pain. Yoga also helps to improve posture and balance, which are important factors in preventing lower back pain. Additionally, yoga can help reduce stress and anxiety, which are common causes of tension in the lower back.
Due to the nature of the yoga practice, we strengthen our core muscles a lot, while simultaneously keeping the muscles long elastic. The movement through forward folds, backbends and twists in yoga means that we move the spine in different directions to keep it healthy and mobile.
We can often be weary of activating muscles or “using” our body when we feel pain or stiffness. However, as we have seen above, strengthening the muscles is one of the best things we can do to protect the spine, increase blood flow to help transport nutrients, and reduce stiffness and pain in the lower back.
If you do suffer from acute injuries or pain that may be the result of herniated discs, osteoporosis or osteoarthritis, or sciatica, please consult your doctor or physician. If, however, your back pain is the result of lifestyle factors listed above, you can greatly benefit from a regular yoga practice for back pain.
7 Yoga Poses for Lower Back Pain
The following seven yoga poses for lower back pain can be practiced by everyone and offer a simple and little strenuous release for stiffness in the lower back.
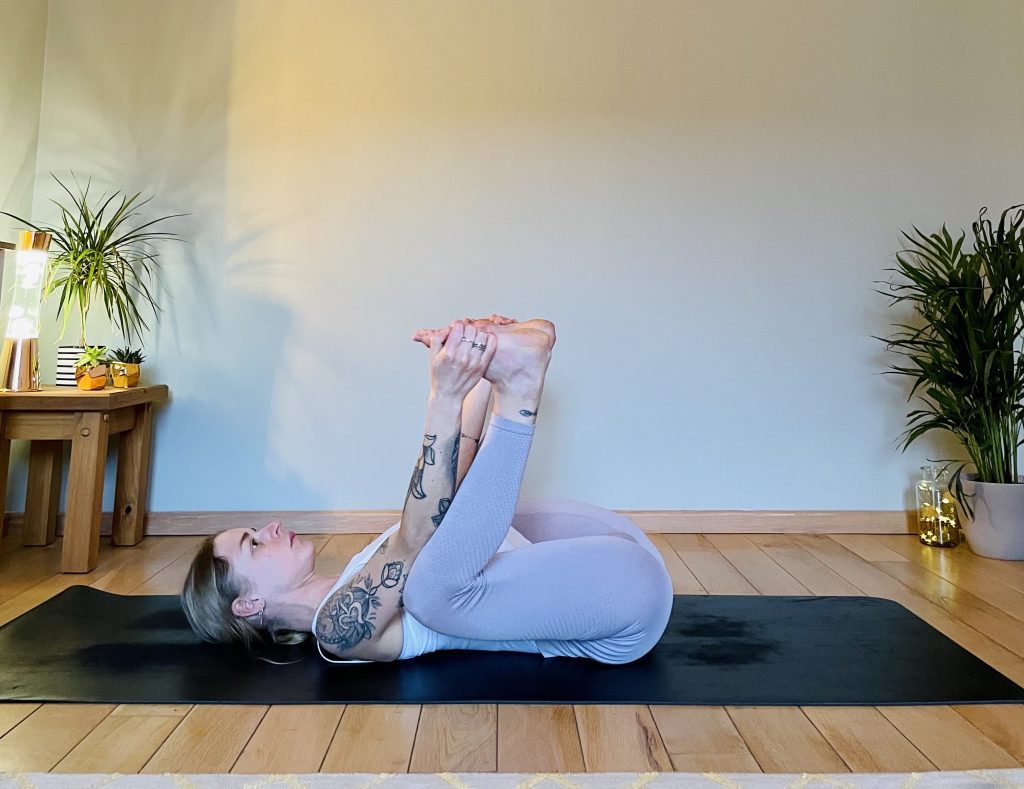
1. Ananda Balasana – Happy Baby
Come to lie down with your back on your mat and hug the knees into the chest. Then slide the knees sideways, so they land next to the ribs and toward your armpits with the soles of the feet reaching up to the sky.
From here, either grab the soles of your feet from the outside, hold the big toe, or maybe hold the ankles – this will depend on the flexibility and mobility of the hips and thighs.
Slowly allow your hips and lower back to come back toward the Earth. Gently engage the abdominal muscles to help the lower back move toward the floor. Also keep your shoulders and head on the mat.
Take 10 deep breaths.
Ananda balasana, or happy baby pose, allows the inner thighs and hip flexors to release, which helps to release tension from the lower back. If you have ever practiced yogic squat, malasana, this pose is very similar but in a reclined variation.
2. Paschimottanasana – Seated Forward Fold
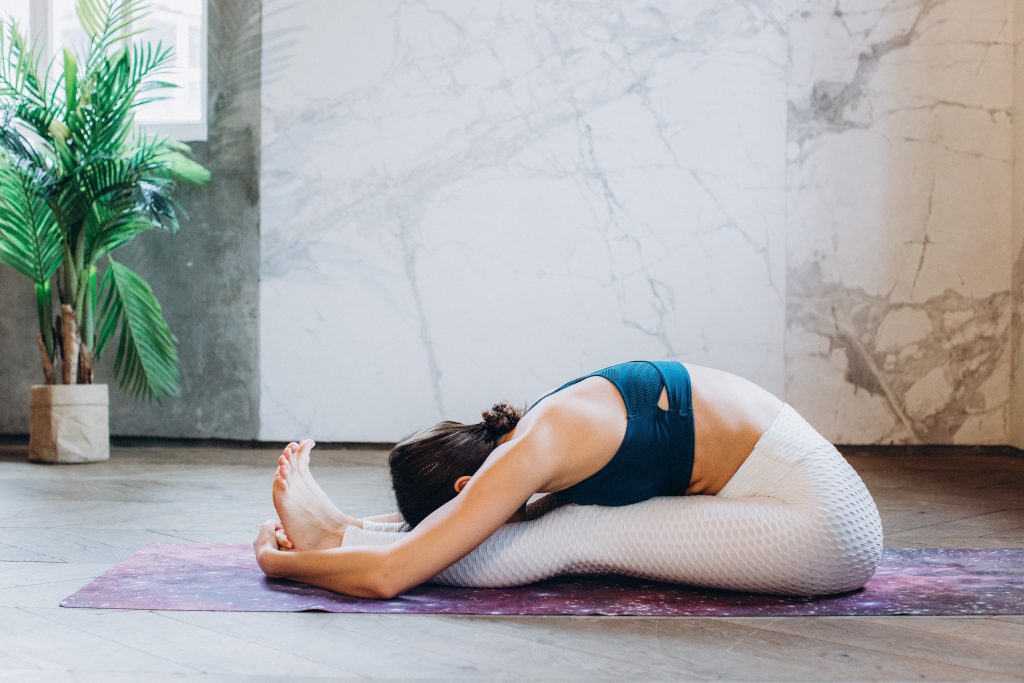
Come into a seated position on your yoga mat and extend the legs forward, keeping the thighs active and the toes flexed.
Important: If your hamstrings are a little tight and you notice that you’re curving in the lower back, please sit onto a yoga block or blanket to elevate the hips and / or slightly bend your knees to enable you to roll forward on the sit bones.
Once you’re comfortable, inhale as you start to fold forward. Always keep the spine as long as possible and the shoulders away from the ears. With every exhale, keep the navel toward the spine and release any tension.
Keep your eye gaze to the big toes or knees and take 10 breaths.
Allow your hamstrings to slowly relax. Oftentimes tightness in the back legs or glutes can cause stiffness in the lower back. By releasing the muscles on the backside of the body, we can release tension in the lower back, too.
Note: You should feel the stretch in the belly of the muscle (about middle of the back leg). If you notice a pain or stretch nearer to the glutes, you might be hitting the tendons and ligaments. Ease off a little.
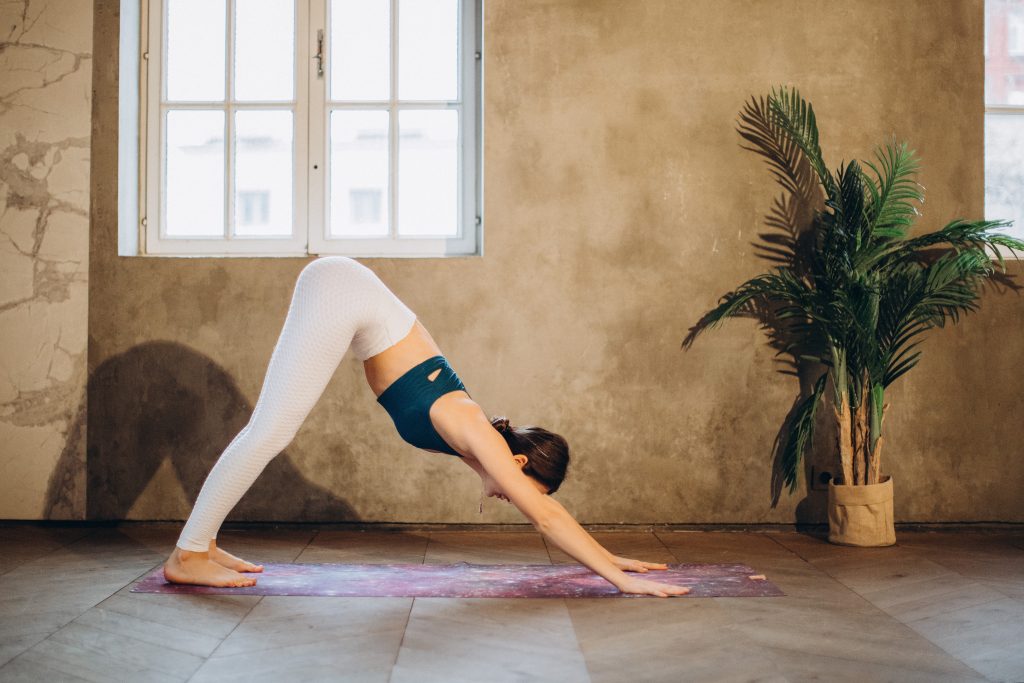
3. Adho Mukha Svanasana – Downward Facing Dog
The classic: downward facing dog, or adho mukha svanasana. Start in an all fours position, placing the hands shoulder-width and underneath the shoulders and the feet hip-distance apart.
Slowly reach the sit-bones toward the sky, gently straightening the legs and releasing the heels toward the floor. The knees can always stay slightly bent if that feels better.
Soften the shoulders away from the ears. Create space around the head and neck. Keep the navel hugging the spine and the front ribs reaching together for a strong core.
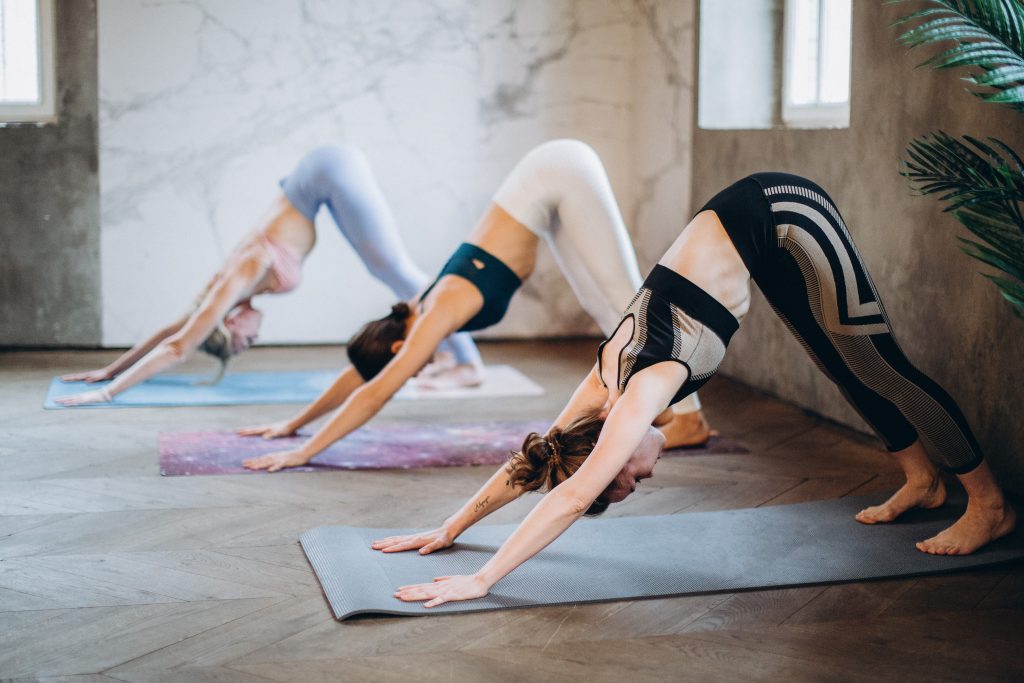
Downward facing dog lengthens the entire back, while simultaneously strengthening the shoulders and latissimus (big back muscle). It also helps to lengthen the hamstrings and backside of the glutes and legs, which releases tensions from the lower back.
Take at least five deep breaths.
4. Anjaneyasana – Low Lunge
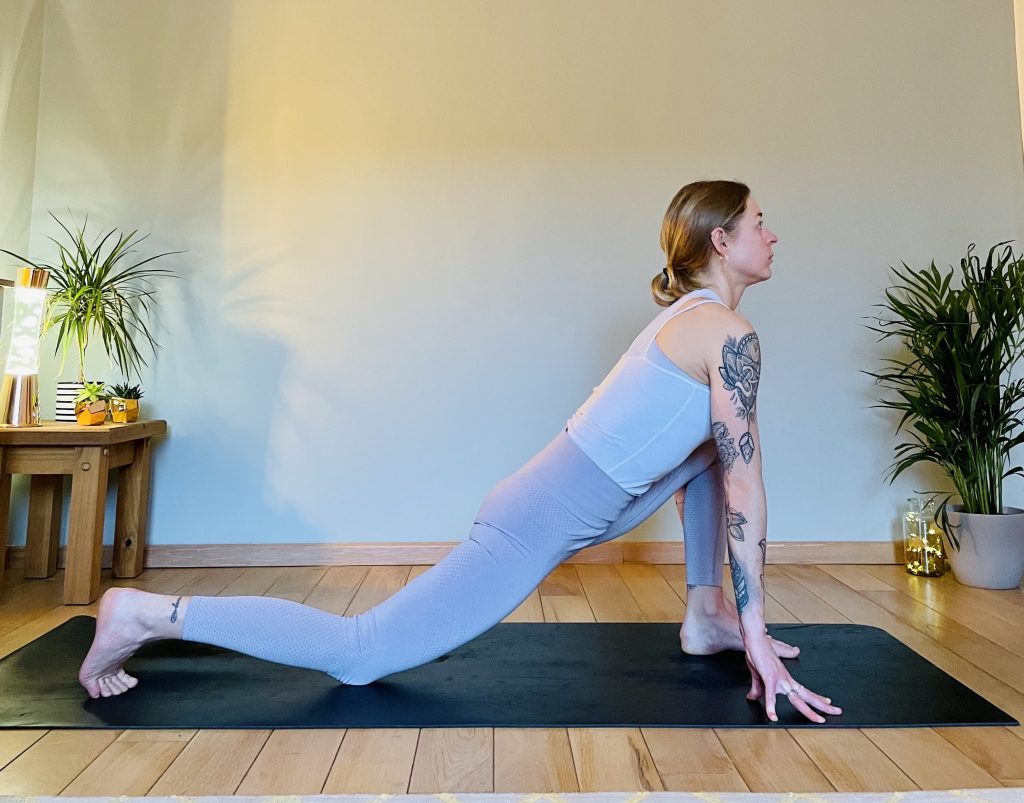
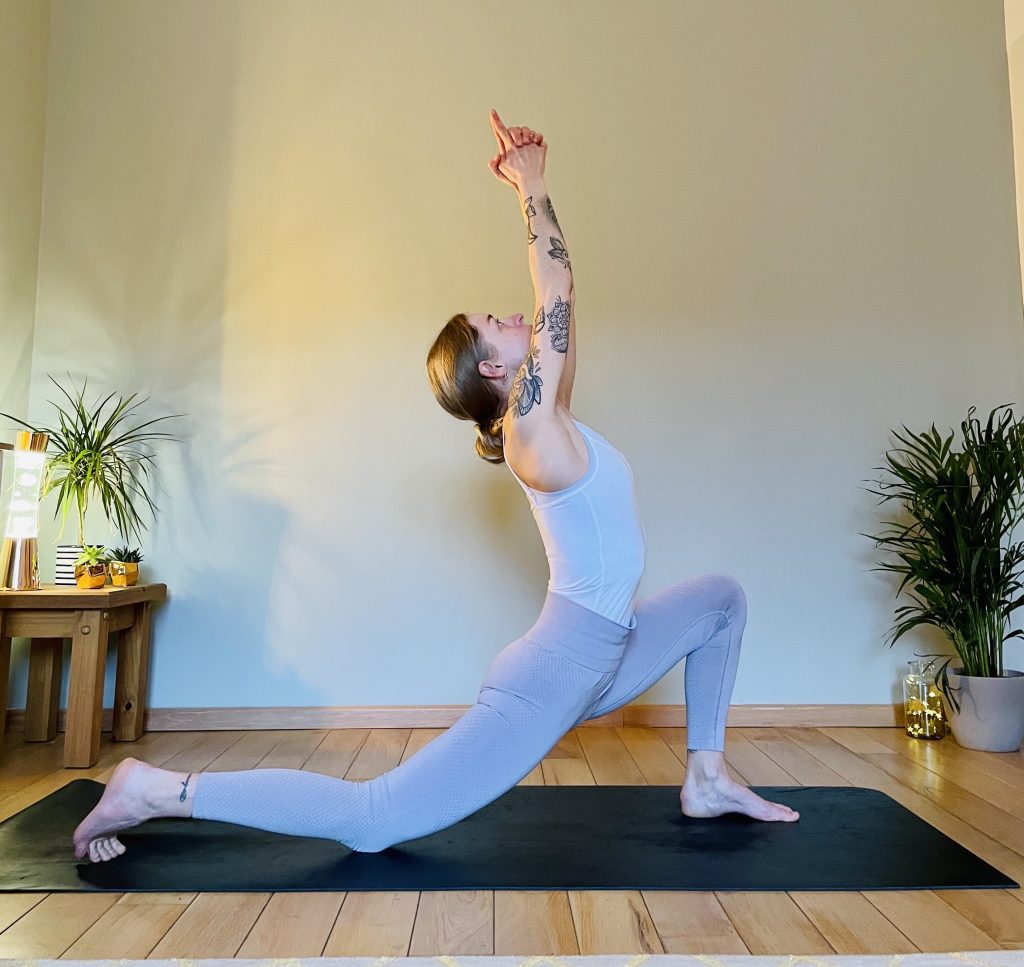
From your downward facing dog, step the right foot forward to your right hand and place the left knee on the mat. You can keep the left toes curled under or flatten your feet, whichever feels better on your knees.
As an option, you can keep the hands down on the mat, supporting the upper body and simply letting the hips slowly relax down toward the mat. Notice a stretch in the left quadriceps and hip flexors (front of the thigh and hip).
Alternatively, you can lift up the arms and torso. This will, most likely, intensify the stretch in the front left thigh.
Choose your variation and breathe for five deep breaths, before slowly stepping back to downward facing dog and then changing the sides.
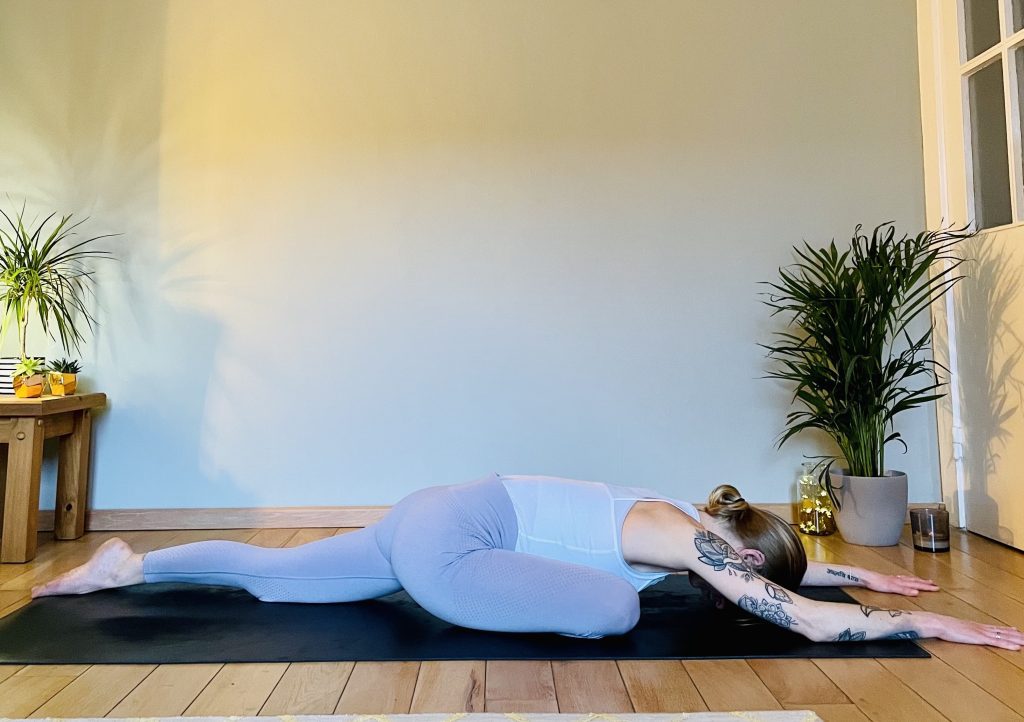
5. Eka Pada Raja Kapotasana – One Legged King Pigeon
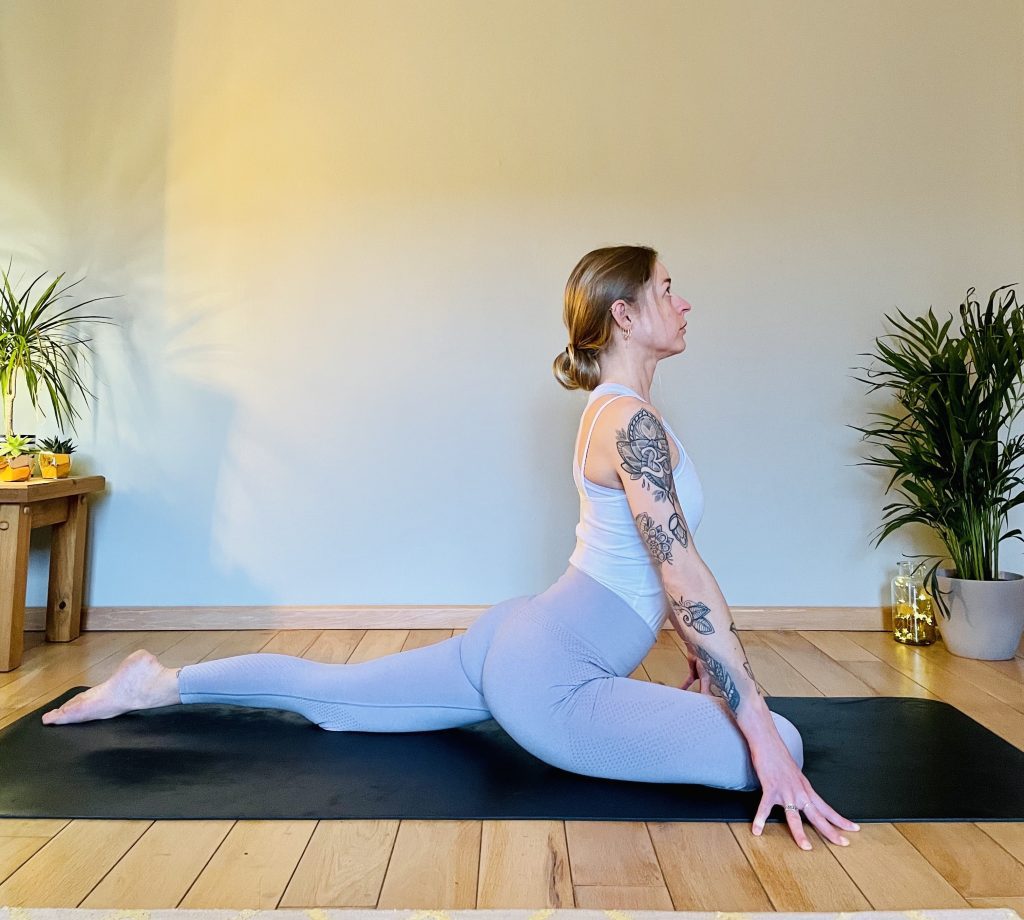
From adho mukha svanasana, downward facing dog, step the right foot forward and move the foot across the mat to the left, so that you can slowly release the right shin down to the mat, parallel to the front edge of the mat.
Important: Keep the right toes flexed to protect the knee joint. Level the hips, so that both your hip bones point forward, and your left thigh is moving toward the Earth.
Option: Keep the right knee at a 90° angle with the toes flexed. If you notice any discomfort in the knee, bring the right foot closer to the pubic bone. This closes the knee joint and releases some of the tension from the knee.
You can stay with your hands next to you and the torso upright, or you can slowly move onto the forearms or lay down completely, resting the forehead on the Earth.
At all points, keep your breath deep and even. Take eight full breaths here, before slowly moving out of the pose, stepping back to downward dog, and changing sides.
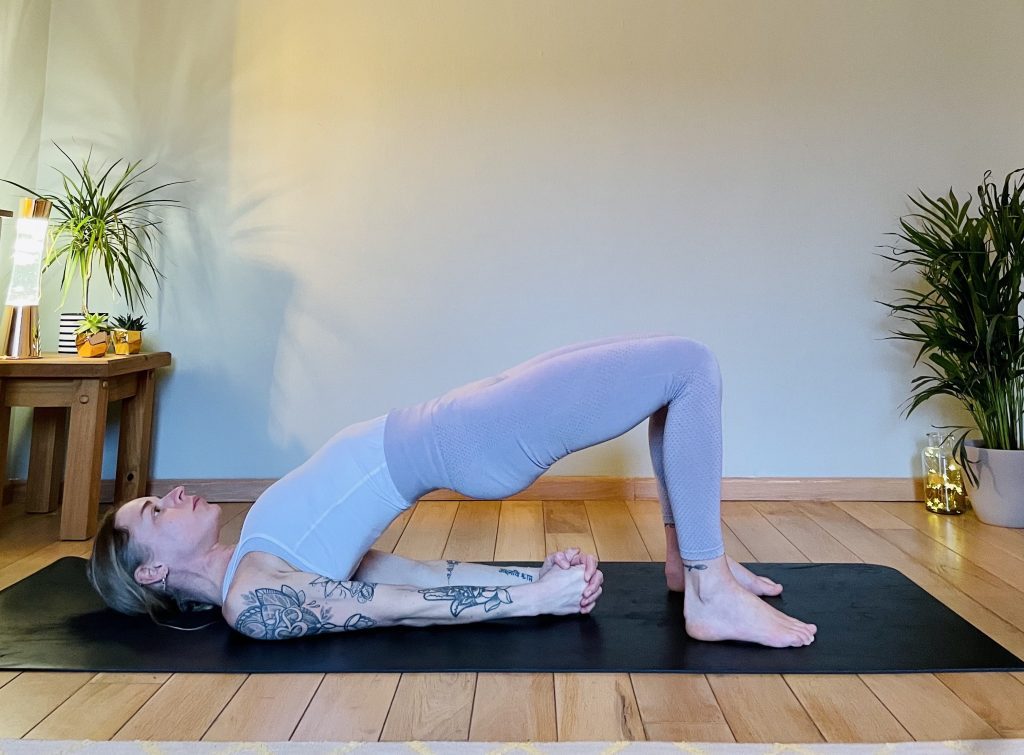
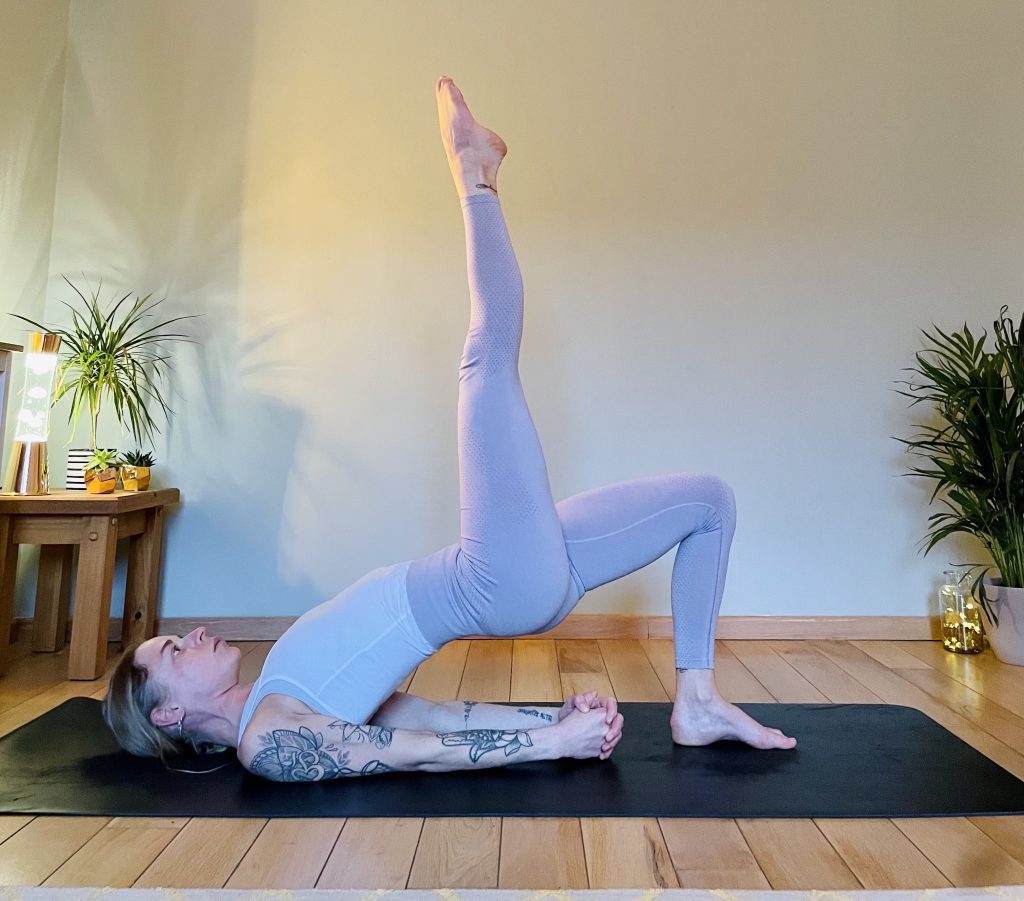
6. Setu Bandhasana (optional one-legged) – Bridge Pose
Come to lie down on your back with your knees bent and your feet placed directly under your knees. You can just about touch your heels.
Point your toes straight forward, keep the knees stable on top of the ankles, hands pressing into the mat next to you. As you inhale, slowly lift the hips and back off the mat, firmly pressing into your feet.
Important: Keep your neck still. The cervical spine is very delicate. Refrain from any movement when there is weight on the head and neck.
Option: Keep the hands where they are, or interlace them, moving the shoulders together and creating a “cushion” for your neck. If you feel comfortable and stable, you can play around with shifting the weight into one foot and lifting the other leg straight up to the sky.
Setu bandhasana, bridge pose, strengthens the backside of the legs, as well as the lower back muscles. It is super important to keep the back strong. At the same time, the bridge pose opens the front body, including the quadriceps, hip flexors, and abdominals.
Bridge is a great pose toward the end of the practice. Hold for five breaths, repeat three times in total.
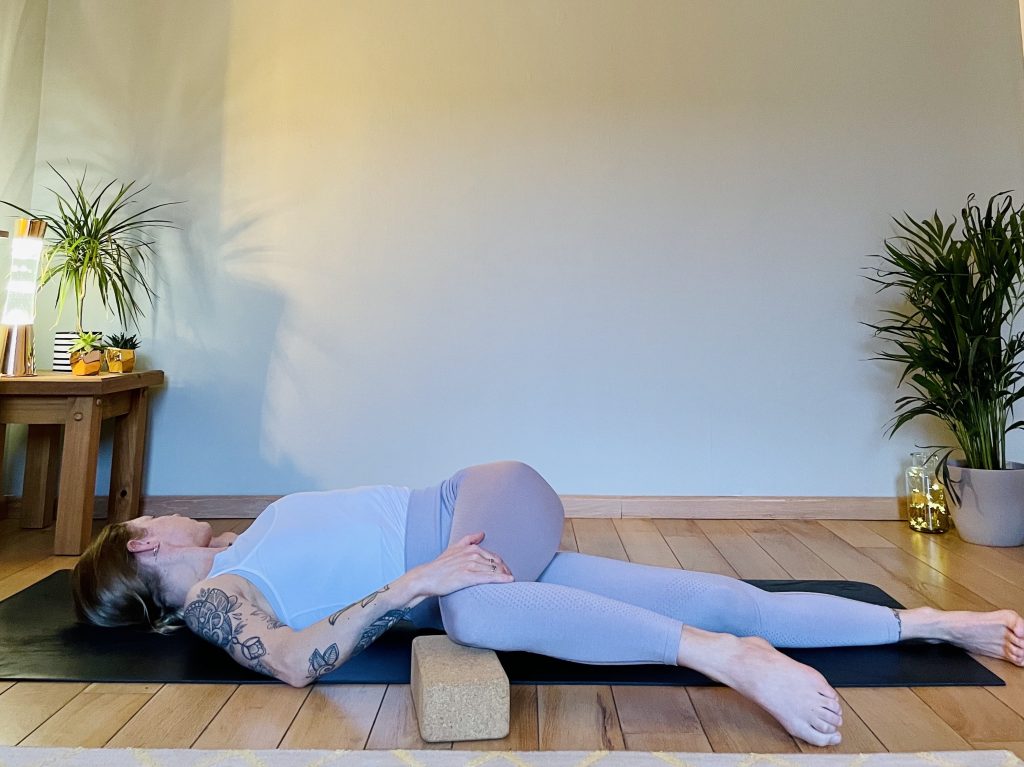
7. Supta Matsyendrasana – Reclined Twist
Stay lying on your back. Now extend the left leg forward and hug the right knee into the chest. Gently lift the hips over to the right side a little bit and bring the right knee across the body to the left.
Feel free to grab a block and place it under the right knee for support. Maybe the knee will come all the way down to the Earth. Either way, make sure you’re supported here.
Gently work on bringing both shoulder blades toward the floor. Your hands can stay in a “cactus shape” at 90° by your sides.
Take eight breaths on both sides.
When practicing these poses, always listen to your breath and only go where it feels comfortable for your body. Start to connect to your inner teacher – only you know what feels good for your body.
Any questions? Send me a quick e-mail to hello@findingsparkles.com
And always, have fun & keep sparkling!
Kim Carolina
